
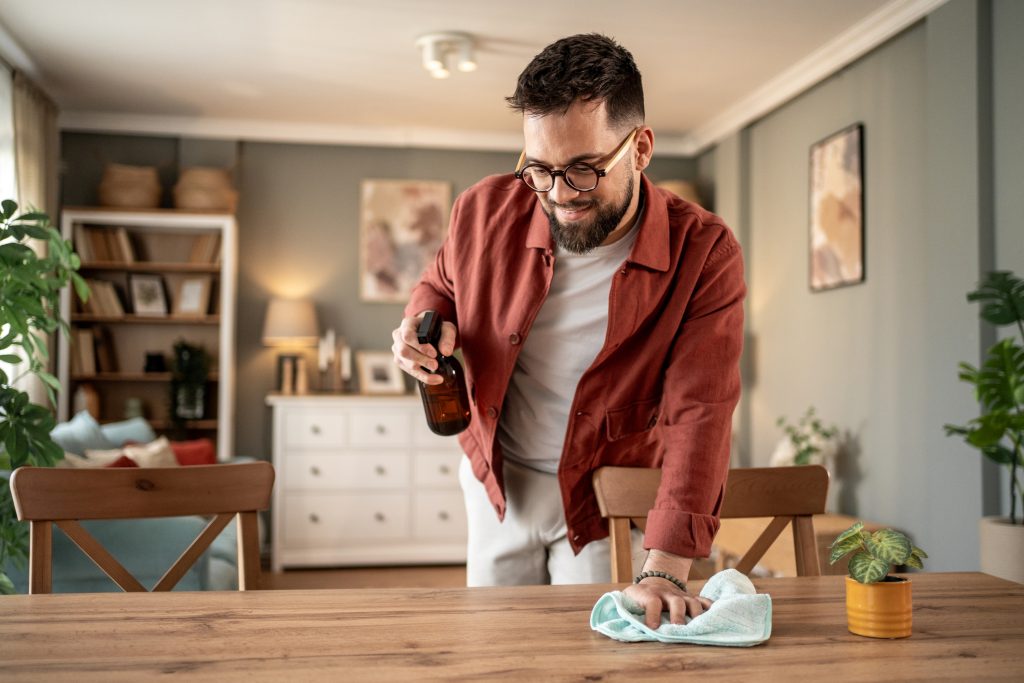
You have your cleaning routine down to a science. You wipe the counters, vacuum the rugs, and scrub the toilets until they shine. When you finish, you look around with satisfaction because your home looks tidy and smells fresh. But visible cleanliness can be deceiving, especially when hidden dirt traps in your home quietly collect dust and bacteria. While you focus on the big surfaces, dust and bacteria are often quietly building up in the forgotten corners of your life.
It is easy to get into a “cleaning groove” where we only address the messes we can see from the doorway. Meanwhile, hidden dirt traps in your home accumulate grime in spots that are too high up, too low down, or tucked inside machines we assume clean themselves. These overlooked areas can impact your home’s air quality, spread allergens, and even affect how well your appliances run.
Discover the most commonly overlooked hidden dirt traps in your home, why they matter, and how to clean them effectively without sacrificing your entire weekend.
1. Baseboards: The Dust Magnets at Your Feet
Take a walk through your living room and look down. Your baseboards act as a frame for your flooring, but they also serve as a permanent shelf for dust, pet hair, and scuff marks. Because they are so low to the ground, they often blend into the background until the buildup becomes impossible to miss.
Dirty baseboards can make a freshly vacuumed room look dingy, even if you cannot quite pinpoint why the space feels “off.” The good news is that cleaning them is incredibly satisfying and surprisingly easy.
How to Clean Them: Start by removing the loose dust so you do not just smear wet dirt around. Use your vacuum cleaner’s brush attachment to run along the top edge. If you do not want to drag the vacuum out, a dry microfiber cloth works well too.
For scuff marks or stuck-on grime, you need a damp approach. Mix warm water with a few drops of dish soap or a splash of vinegar. Dip a cloth or sponge into the solution, wring it out until it is barely damp, and wipe down the boards. A magic eraser sponge is perfect for stubborn black scuff marks that refuse to budge.
Pro Tip: Once the boards are clean and dry, rub them with a dryer sheet. The anti-static properties in the sheet actually help repel dust in the future, meaning you will not have to clean them as often.
2. The Ceiling Fan: An Overhead Dust Spreader
When was the last time you looked up? The tops of your ceiling fan blades are often coated in a thick, gray blanket of dust. The problem is that as soon as you turn the fan on to cool down, that dust gets flung around the room. It lands on your furniture, your bedding, and circulates in the air you breathe.
Many people avoid cleaning these because it seems like a hassle that will result in dust raining down on their heads. However, there is a trick to doing this mess-free.
How to Clean It: Skip the feather duster, as it just pushes the mess onto the floor. Instead, grab an old pillowcase.
Slide the pillowcase over one fan blade like a sock. Press your hands against the blade through the fabric and pull the case back towards you. All the dust stays trapped inside the pillowcase instead of falling on the floor. Repeat this for each blade. Afterward, you can shake the pillowcase out outside and toss it in the wash.
3. The Washing Machine: Cleaning the Cleaner
It sounds counterintuitive; why would you need to clean a machine that constantly runs soap and hot water through itself? The reality is that washing machines are dark, damp environments. This makes them the perfect breeding ground for mold, mildew, and bacteria.
Detergent buildup and trapped lint can also clog the inner workings over time. If your fresh laundry has started smelling a bit sour or musty, a dirty machine is likely the culprit.
How to Clean It: For a front-loading machine, focus first on the rubber gasket around the door. Gently pull back the folds of the rubber to reveal the hidden grime. You will likely find slimy residue, trapped hair, or even a lost sock. Wipe this area thoroughly with a cloth soaked in white vinegar.
Next, sanitize the drum. Pour two cups of white vinegar into the detergent dispenser or directly into the drum. Run the machine on the hottest, longest cycle available. The acid in the vinegar cuts through soap scum and kills bacteria. To prevent future buildup, leave the washing machine door open for a few hours after every load to let it dry out.
4. Toothbrush Holders: A Bathroom Bacterial Hotspot
This one might make you cringe. The National Sanitation Foundation (NSF) found that toothbrush holders are often the third germiest item in the entire house. We shove wet brushes into them twice a day, creating a pool of stagnant, germ-filled water at the bottom.
Despite this, most people rarely think to scrub out the cup or stand that holds the tool they put in their mouth.
How to Clean It: If your holder is dishwasher safe, putting it on the top rack is the easiest solution. The high heat will sanitize it effectively.
If you are washing by hand, you need to be thorough. Soak the holder in hot, soapy water for about 10 minutes to loosen the gunk. Use a small pipe cleaner or a dedicated cleaning toothbrush to scrub the inside corners where slime accumulates. Rinse it well and let it air dry upside down before putting your toothbrushes back in.
5. Light Switches and Door Knobs
Think about how many times a day you touch the bathroom light switch or the front door handle. Now think about how many times you do that with unwashed hands. We transfer oils, food residue, and germs onto these small spots constantly.
Over time, you might notice a sticky film or discoloration on your light switches. This is a clear sign they are overdue for a wipe down. These high-touch surfaces are major transfer points for cold and flu viruses within a household.
How to Clean Them: Never spray cleaner directly onto a light switch, as liquid can seep into the electrical components and cause a short. Instead, spray a disinfectant or all-purpose cleaner onto a cloth or paper towel first. Wipe the switch plate and the switch itself.
For door knobs, you can be a bit more liberal. Disinfectant wipes are great here. Make sure to clean the neck of the doorknob, not just the part you grab, as dirt likes to hide there too.
6. Window Tracks
You probably clean the glass on your windows to let the light in. However, open the window and look at the track at the bottom. This area is often a graveyard for dead bugs, pollen, dirt, and dust.
When moisture from condensation mixes with this dirt, it can create a dark, muddy sludge in the corners. This not only looks bad but can also affect how smoothly your window opens and closes.
How to Clean Them: Start with the vacuum. Use the crevice tool to suck up the loose dirt and dead insects. If the nozzle is too big to fit in the track, use an old dry paintbrush to sweep the debris loose first.
For the stuck-on grime, sprinkle a little baking soda into the track. Pour a small amount of vinegar over it and watch it fizz. This chemical reaction helps lift the dirt. Use an old toothbrush to scrub the corners, then wipe everything away with a paper towel.
7. Mattresses
We spend roughly one-third of our lives in bed. While we wash our sheets and pillowcases regularly, the mattress itself rarely gets any attention. Over time, mattresses collect dead skin cells, sweat, dust mites, and dust.
This accumulation can make your mattress heavier and aggravate allergies while you sleep. A fresh mattress can significantly improve your sleep quality.
How to Clean It: Strip the bed completely. Sprinkle a liberal amount of baking soda over the entire surface of the mattress. You can add a few drops of essential oil like lavender to the baking soda beforehand if you want a pleasant scent.
Let the baking soda sit for at least an hour. It acts as a sponge, absorbing odors and moisture from the fabric. After the time is up, use your vacuum cleaner’s upholstery attachment to slowly vacuum up all the powder. This pulls out the dust and mites along with the baking soda.
8. Reusable Grocery Bags
We all try to be eco-friendly by using reusable totes. We drag them to the store, fill them with meat, produce, and cans, and then toss them back in the trunk or pantry.
Meat packages can leak. Produce can have soil on it. If you never wash these bags, you risk cross-contamination the next time you buy fresh food. If a package of chicken leaks slightly into the bag, and you use that same bag for fresh apples the next week, you could be exposing your family to harmful bacteria.
How to Clean Them: Check the tag on the bag. Most canvas and cotton bags can go straight into the washing machine with your towels. Nylon or plastic-lined bags usually need to be wiped down by hand with hot soapy water. Make sure they are completely dry before folding them up to prevent mold growth.
Simple Steps to a Cleaner, Healthier Home
Cleaning is not just about the things you can see from the doorway. It’s about tackling the hidden dirt traps in your home that impact health and comfort. It is about creating a healthy, functional space for you and your family. You do not have to tackle all these overlooked areas at once. That is a recipe for burnout.
The best approach is to rotate these tasks into your existing schedule. Maybe you clean the baseboards the first weekend of the month and tackle the washing machine the next. By paying attention to these hidden spots, you extend the life of your appliances and improve the overall cleanliness of your living space.
Start small. Pick one item from this list to clean today. You might be surprised at how much better you feel knowing the hidden grime is gone.
Williams Homes offers thoughtfully designed floorplans in California, Idaho, Montana, and Texas. Many of our homes include private flex rooms and bonus spaces to fit your lifestyle. Visit WilliamsHomes.com to explore communities you’ll love to call home.